*This blog is no longer active. For all these posts and more please visit my new blog Maggie Muggins Designs!*


Thursday, January 28, 2010

Boys Travel Room

This site is no longer in use. You can see all this information and new posts at my new blog Maggie Muggins Designs.

My son has a transportation/travel themed room. And these two things I saw this week have got me re-thinking the entire room. Ack. My husband is going to want to shake some sense into me. I seriously can't help it. Just look at the fabric. It's drool worthy. And the paintings just melt some part of my heart that only a mother of boys can understand. Here's to dreaming.


The Wheels Fabric Collection by My Mind's Eye from Riley Blake: (Thanks to My Little Gems for sharing it with me.)


Now to convince my husband that the room needs something more.

Tuesday, January 26, 2010

Chalk Mat

This site is no longer in use. You can see all this information and new posts at my new blog Maggie Muggins Designs.

One of my dear friends gave me a Chalk Mat at my baby shower. Not for the baby, but for the toddler. Perhaps it was that miraculous gift, or perhaps something else that has our son behaving near perfectly every Sunday since. Perfection for me at this point would be not talking loudly and not starting his own prayer every time we tell him "It's time for prayer, fold your arms". But what can I say, the moments we haul him out to the foyer are few and far between lately.

No matter his behaviour, he loves this new toy! If it was the Chalk Mat though I hope that my sister-in-law is enjoying it's magical abilities. I managed to sneak one of them into the Christmas package for her son!

Most of the materials were a kit provided by my friend but I chose to use laminated cotton instead of cotton. The laminated cotton means the chalk dust can easily be wiped off the entire thing, and the damp sponge doesn't soak through to the inside. It looks fabulous too! It's also super easy to sew. I'll tell you more about another experience with laminated cotton soon.

*For those interested my friend is currently working on a tutorial for this and will have it up on her blog soon. I'll give you the link to that as soon as she's done.


Chalk cloth, available on a few online fabric sites, makes it possible to write on this. I wish I'd thought to actually draw on it before taking pictures and sending it off.


My son loves to draw roads, or train tracks to drive his cars around on it.


I'm sharing this with my blog party usuals: DIY Day with A Soft Place to land, Get Your Craft On with Today's Creative Blog and Look What I Made with Creations by Kara.

Creations by Kara

Tuesday, January 19, 2010

Look What I {Had} Made!

This site is no longer in use. You can see all this information and new posts at my new blog Maggie Muggins Designs.

I love Newsboy Beanies. I've wanted to buy my son one since I saw these on Etsy.com. I've wanted one for myself too - especially this one.

Then one day my Husband returned from a quick errand to Michaels where he'd purchased yet another item for me. This time he had a skein of yarn and crochet needles in hand. I gawked. Was he serious? Did he really think he could crochet? (I tried knitting - the project hasn't been finished for nearly two years, so I seriously doubted his patience and commitment.)

I watched as he began, saw his first finished project
only hours later and was amazed. It was a doily, not imperfect, but very impressive none the less. His second doily (made for his grandma for Christmas) blew me away! My hot computer geek has skills. That's when I realized I didn't need to order the beanies I wanted, he could just make them for me. So we ordered patterns, bought yarn, and he got going!

Newsboy Beanies for the boys:


Newsboy Cap for me:


I had found a button in my craft stuff for my hat. It was cute, but before I even put it on the hat, it disappeared thanks to the toddler. My sister-in-law made that awesome Posy Pin for me for Christmas and it was just perfect for my hat! Click on that link for a tutorial.


After completing his first doily my Husband showed it to everyone - insisting that I wasn't the only crafty person in the house. After installing laminate flooring, painting, putting in new baseboards, closet systems, designing our friends web site and doing much more for myself and others I can attest to the fact that I already knew that!

Tuesday, January 12, 2010

Quick Pearl Necklace

This site is no longer in use. You can see all this information and new posts at my new blog Maggie Muggins Designs.

In a hurry to get things made for Christmas I found myself making a necklace for a family member. It has been a long time since I've made jewelry. Nearly a decade. The last necklace I made was just before my mission. I had fun making this one. I'd do things differently next time, like actually try to space it properly. I used crimping beads to the freshwater pearls in place. I think I'll try some sort of glue in the future to make it more fascinating. I do like the look though and plan to make one for myself soon!

What I used:
1 Strand Freshwater Pearls
1 Package Crimping Beads
1 Magnetic Clasp
Jewelry Wire
Flat nosed pliers

How I did it:
Attach two long strands of wire to one side of the magnetic clasp. I used crimping beads for this as well. String pearls with a crimping bead on either side on both strands and stagger the spacing on either wire. Crimp the beads on either side to hold the pearls in place using the pliers. Once you have the length you desire attach the other side of the magnetic clasp. So Easy!

Creations by Kara

Saturday, January 9, 2010

The Topless Undershirt

This site is no longer in use. You can see all this information and new posts at my new blog Maggie Muggins Designs.

As a nursing mother I'm always looking for ways to make things a little bit easier when out in public. The other day I came across Blush topless undershirts and thought they were a great idea. But of course, like all things out there you really want to try before you buy. So I pulled an old white Shade camisole out of the drawer, and serged the top right off. I didn't even cut or hem or anything. No one is going to see that part. It works great! Best of all - it was free and so easy to make. I'm planning a trip to WalMart or Target to buy some more tanks/camis in fun colors. While Blush might have a good product, I just can't pay $15 for something that ought to cost $3.

Tuesday, January 5, 2010

The Car Cozie

This site is no longer in use. You can see all this information and new posts at my new blog Maggie Muggins Designs.

For Christmas I went all out and made many of the gifts. Between that and the two kids (baby is doing fine) I've had no time for the blog. You'll see my creations in future posts. For now, take a look at the adorable car cozie that my son got for Christmas!

Sharla over at My Little Gems provides an excellent tutorial on how to make an adorable Car Cozie. Thanks Sharla!


I followed the tutorial closely. I chose not to do an alternating fabric. I got a little confused following the pattern when it came to sewing the ribbon on. Uh Duh. It's meant to be sewn on one side only, hence the folding the ribbon in half. I think I skipped a little on those instructions but I really wasn't thinking it through either. I ended up sewing the ribbon on either side only to roll up the cozie and realize my mistake! At least it wasn't too much work to unpick.

See how the ribbon attaches to one side?

There are 6 pockets that fit big cars. You can even fit two flatter cars in one pocket.

Ah, "Green" Herbie, driving on the road.

I used a play mat fabric so that the opposite side of the cozie could be used for cars as well.

We tested this out the first Sunday after Christmas at church. Wonderful! He played with it the entire meeting. It's not going to be one we use every Sunday, I'd prefer the coloring, the chalk mat and other more reverent toys be used. However, desperate times call for desperate measures.

I'm linking up to Get Your Craft On with Today's Creative Blog and DIY Day with A Soft Place to land. I'm also joining a new blog party (Thanks Kara!) over at Creations by Kara: Look What I Made! A Special Thanks to all the hostesses of these parties - they inspire me to keep creating!

Creations by Kara

Tuesday, November 24, 2009

Tick Tock Herbie Clock

I bought this table top from IKEA's As Is Section for $1 some time ago. I can't begin to explain how much I love that section. I think the wood was from this table:


I had many ideas for it: A spinning toy, big artwork, something for my son to play with. The more I looked at it the more ideas I got. But nothing ever felt right. One day I saw these clock kits in the isle at Joanns. They have vinyl products for the face of the clock. At the time my son was fascinated with clocks. Really, he still is. I decided to make a clock with the table top. I searched online for a cute "transportation" style clock to go in his room. When I saw this one (shown below) I knew it was what I had to make. My son has loved Herbie from the day he watched "Herbie Fully Loaded" nearly a year ago. Every new or old model VW Bug in the house is Herbie, the same for every VW Bug on the road. He can spot Herbie from miles away.
I already had black and red vinyl and I bought blue vinyl (and probably used $1 worth of them). The clock kit took a while to find as the shaft needed to be long enough for the wood. I found it on Amazon.com for $15.44 including shipping. If I hadn't needed such a specific shaft size it would have cost a lot less (I would have pulled an old clock apart).

Total Cost: About $18.

I cut the vinyl (lines and circle by hand, numbers on my Silhouette) and placed it on the wood. Then I had my husband quickly drill the hole and installed the clock piece. I finished it last week and we hung it yesterday in his room. He could not be more thrilled! I have more in store for his room!


I'm linking up to DIY Day at A Soft Place to Land, Trash to Treasure Tuesday at Reinvented, and Get Your Craft On at Today's Creative Blog. Enjoy viewing the other awesome projects!

Tuesday, November 10, 2009

Thank-You Pottery Barn!

This site is no longer in use. You can see all this information and new posts at my new blog Maggie Muggins Designs.

I have frequented the actual Pottery Barn store twice in my life time. I'm serious. I enjoyed each visit and felt completely at home amid the gorgeous furniture, textiles and home decor, but I was constantly aghast at the prices. Seriously, most of the stuff is way too expensive for me. My first visit was after receiving a gift card to the store one Christmas. It was so delightful to search for the bargains, and even splurge on a beautiful platter, although I am extremely proud of the $0.99 Chargers that I bought as well! Just this week was my second visit to your store. It was a quite fast. (I couldn't browse much with a toddler and new-born in tow.) I did make a purchase which I have to confess I am in love with:


This new rug adorns my living room floor. It looks perfect there. I don't feel that I payed too much either for a lovely wool rug. Not when I would have payed the same or more elsewhere! Thanks for having some reasonably priced items. (Or at least one!)

I must also say Thanks to Living With Lindsay for her recent post on the book Design Rules. It helped me know just what kind of (color of) rug to get to go with my dark green couches.

I must confess though, I like most bloggers out there enjoy the Pottery Barn Knock-Offs. So thank-you Pottery Barn for the inspiration you provide me. It's way easier to make a knock-off when you have something to truly inspire you to do it. Your beautiful magazines, website, and staged stores inspire me to have a beautiful home, only at a fraction of the price I would have to pay you!

Thursday, October 29, 2009

Photo Editing

This site is no longer in use. You can see all this information and new posts at my new blog Maggie Muggins Designs.

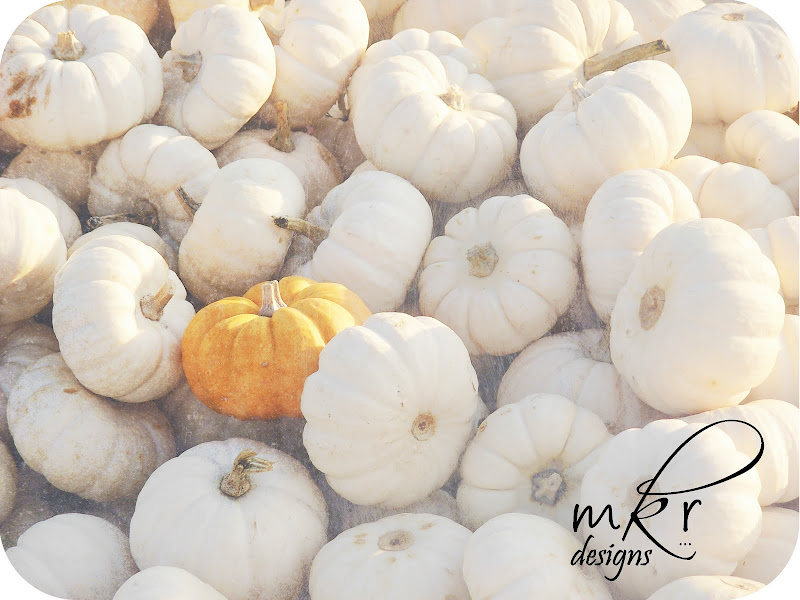
I love having fun in Photoshop. Today, in light of the season, I decided to play around with this picture of mini pumpkins that I took last year. I wanted to wash it out more to make the orange one really stand out. First I brightened the colors. Then I used a texture to give it a vintage look. Lastly I rounded the corners.

I love how the photo turned out. It feels a lot less like an actual photograph to me now. I think I'll print this for the dining room for some more seasonal decor.

Before:

After:

Actions: Fresh & Colorful from Pioneer Woman's Action Set 1
Texture: SubtleGrunge4 from Lost and Taken
Rounded Corners: Tutorial from Pioneer Woman

Tuesday, October 27, 2009

DIY Graphic Design

This site is no longer in use. You can see all this information and new posts at my new blog Maggie Muggins Designs.

I'm back with projects to share! I figure a nearly 4 week break was long enough. I've started so many things but I'll confess I'm a little overwhelmed with the idea of going out to purchase the few supplies needed to complete them. I blame it on the brand new baby! I can't wait to share some of my projects with you, here's some recent ones.

A couple of months ago my friend contacted me. (The proud recipient of this creation.) She wanted suggestions for wedding invitations. I replied with what may have been an overload. I explained the various styles, options, do it yourself versions, and wished her luck. Her reply was grateful, but she wanted to know more about the "Postcard" version of wedding invitations. I sat down and quickly threw together a sample for her in Photoshop to give her an idea. Ends up, that's what she decided she wanted. So after much tweaking on my part, a correction of wording and the addition of pictures the invitations (on my end were complete). The trick was finding a good price on printing.

They chose UPrinting.com as their printer. They were quick with getting the invitations to her, made one mistake (Not too serious: they made 600 invitations instead of 200 and sent her the whole bunch without charging her for the extras!) and the quality is great. I love that both sides of the invitation are glossy, unlike a true postcard, and the card stock is a nice weight. I was so excited to get a copy! Here's what it looks like:


That was so easy and so much fun to do! After I had completed the invitations I got on a role. I decided to design shower invitations for my friends shower. These were printed at OvernightPrints.com. This company was cheaper but the quality was great as well. The gloss is a much higher sheen, just too glossy for a wedding invitation, but great for these. I copied the design directly from a site, and added some wording for the theme.


Lastly I did my own baby announcements! Again these were a design I saw online and duplicated. I printed them at the same place as the shower invites. I love them!!!

I'm linking this up to Kimm's Trash to Treasure Tuesday at Reinvented and Kim's Get Your Craft on Party at Today's Creative Blog. I'm also linking up to Kimba's DIY Day on A Soft Place to Land. Head on over to these party's to see other creative projects.


Wednesday, October 7, 2009

Confession # 5: I am a Momarazzi

This site is no longer in use. You can see all this information and new posts at my new blog Maggie Muggins Designs.


Ever since our first son was born I've had this irresistible urge to document my child's life through photography. My habit of capturing cute moments in still grew significantly when my camera was upgraded. Last week our second son was born. All 8lbs 15.1oz of cuteness came out after 15 minutes of pushing. Of course, the fact that I was immobile and had just spent several hours in labor were not going to stop me. Within minutes the camera was back in my hands and I was taking photos of our beautiful little boy.

So to confess that I am addicted to taking pictures of my children might not be surprising for some of you. (Especially for my husband.) But recently I realized the depths of my addictions. I'm not sure if it was the moment I was taking pictures of my son in my hospital bed, or later when I was looking at the various lenses, flash, and other accessories on my Amazon wish list. But I realized I am full fledged member of the Momarazzi! My poor, poor children. I hope I'm not too embarrassing when they're older and I'm on the sidelines cheering and taking pictures.

I need to go take more pictures of my kids. I'll be back with more projects soon. Thankfully I'm recovering quickly!

Tuesday, September 22, 2009

New Blog Header - Trash to This will make do...

This site is no longer in use. You can see all this information and new posts at my new blog Maggie Muggins Designs.

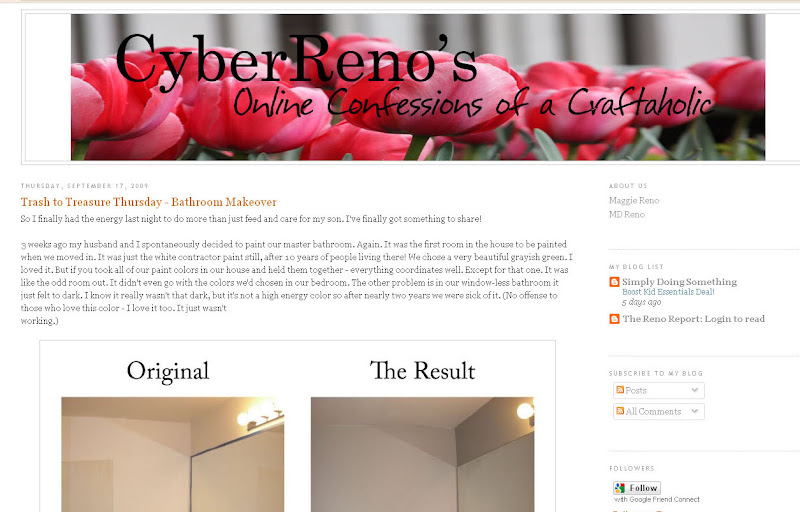
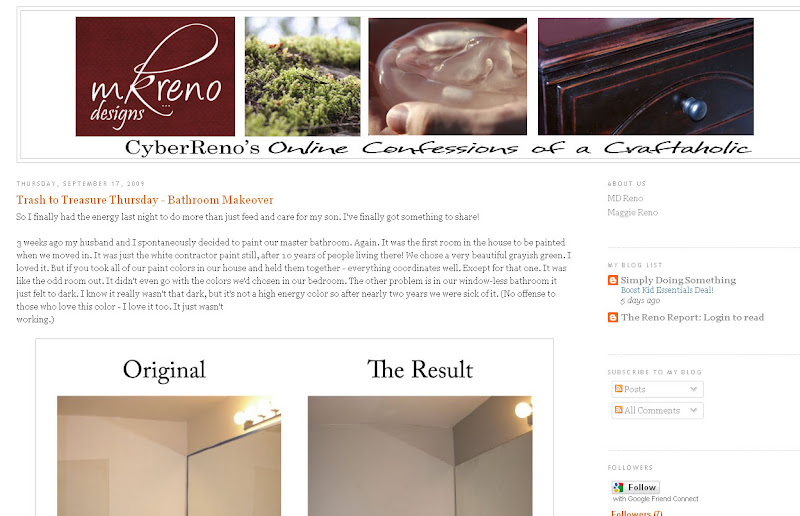
I have been wanting to update my blog ever since I changed it the last time. The old picture was stretched funny, and the design was just underwhelming. Someday I will have time to do something that I absolutely love. But first I have to find a layout I'm in love with, a name that I can use for a blog, a site and a shop, and then design it all. That's just a little too much today. For now, this quick update will have to do.

Before:

After:

Really, it is a very simple change. But I love change. I love to improve things! This really will make do until I can really spend quality time on it. Although it might change once or twice again over the next few days. You never know!

I'm linking this up to Kimm's Trash to Treasure Tuesday at Reinvented. Also linking up to Kim's Get Your Craft on Party at Today's Creative Blog. Head on over to these party's to see other creative projects.